If you’ve ever wanted to try your hand at making homemade pita bread, you’re in for a treat! In this article, we will guide you through the process of choosing the right tools to ensure success in your pita bread-making endeavor. From the right mixing bowls to the essential baking surface, we’ve got you covered. So, put on your aprons and get ready to whip up some delicious, warm pita bread right in the comfort of your own kitchen. Let’s get started!
Choosing the Right Tools for Making Homemade Pita Bread at Home
Making homemade pita bread can be a rewarding and delicious adventure. To ensure success, it is important to have the right tools on hand. In this article, we will explore the essential tools for making pita bread, from mixing and kneading to cooking and serving. We will also discuss additional tools that can enhance the pita bread-making experience. So, let’s get started and discover the tools that will help you create the perfect homemade pita bread!
1. Essential Tools for Making Pita Bread
When it comes to making pita bread at home, there are a few essential tools that you simply cannot do without. The first tool you will need is a mixing bowl. Look for a bowl that is large enough to hold all your ingredients comfortably and allows for easy mixing. Stainless steel or glass bowls are great options as they are easy to clean and won’t react with acidic ingredients.
Another essential tool is a measuring cup and spoons. Baking is a science, and precise measurements are crucial for consistent results. Invest in a set of good-quality measuring cups and spoons that are easy to read and durable. This will ensure that your pita bread turns out perfectly every time.
2. Mixing and Kneading Tools
Mixing and kneading are essential steps in pita bread making. To mix your ingredients thoroughly, you will need a sturdy wooden spoon or a silicone spatula. These tools allow you to combine the ingredients evenly and ensure that there are no pockets of unmixed flour or spices.
For kneading the dough, a silicone baking mat or a clean, smooth countertop will come in handy. These surfaces make it easier to work with the dough and prevent it from sticking. Additionally, consider investing in a dough scraper. This simple tool helps you gather and manipulate the dough without getting your hands too messy.

3. Measuring Tools
Accurate measurements are key to successful pita bread making. In addition to a measuring cup and spoons, consider adding a kitchen scale to your collection of tools. A kitchen scale allows you to measure ingredients by weight, which is particularly useful for flour. Different types of flour have different weights, and measuring by weight ensures consistent results.
A digital thermometer is another useful tool that can come in handy while making pita bread. It helps you check the temperature of the water or milk used for activating yeast. Yeast is a living organism, and the right temperature is crucial for its activation. A digital thermometer will take the guesswork out of this step and ensure that your yeast is properly activated.
4. Rolling and Shaping Tools
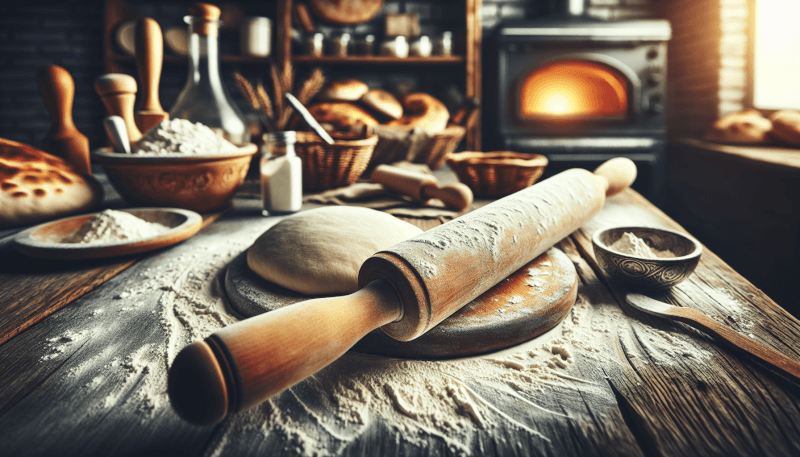
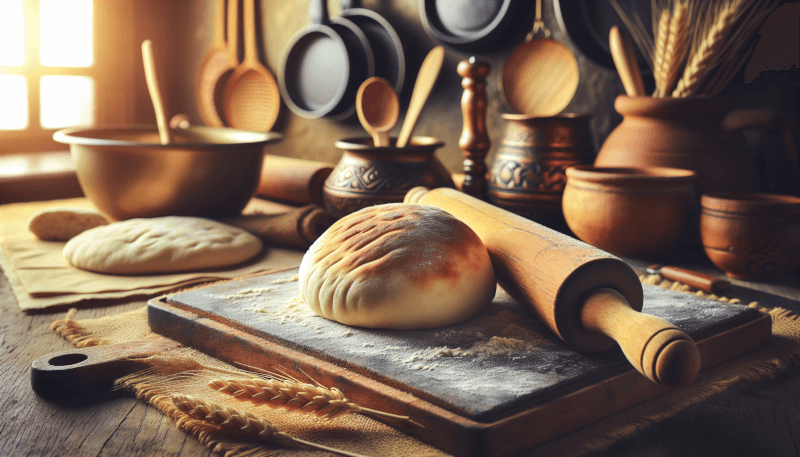
Rolling and shaping the pita bread dough requires the right tools to achieve that perfect round shape. A rolling pin is a must-have tool for this step. Look for a sturdy rolling pin with comfortable handles. It should allow you to roll the dough evenly without applying too much pressure.
To create the signature “pocket” of pita bread, a pastry docker or a fork can be used. These tools help in preventing the dough from puffing up too much during baking, allowing the pocket to form. Simply roll the docker or fork over the dough, creating small indentations that will keep the pita bread flat and allow the pocket to form.

5. Cooking Tools
Cooking pita bread can be done in different ways, depending on the tools at your disposal. If you have a traditional pita bread oven, also known as a tandoor, you are in for an authentic pita bread experience. These ovens are made of clay and can reach high temperatures, giving the pita bread that distinct smoky flavor.
Alternatively, a cast-iron skillet or a griddle can be used for cooking pita bread on the stovetop. These tools provide even heat distribution and allow you to achieve a nicely browned exterior. A pair of kitchen tongs is also handy for flipping the pita bread and ensuring even cooking on both sides.
6. Tools for Creating a Traditional Pita Bread Oven
Creating a traditional pita bread oven at home may seem like a daunting task, but it is not impossible. One option is to invest in a portable outdoor pizza oven. These ovens can reach high temperatures and mimic the heat of a traditional tandoor oven, resulting in perfectly cooked pita bread.
If you prefer a DIY approach, you can build a clay oven in your backyard. There are numerous online resources and tutorials available that provide step-by-step instructions for constructing a clay oven. Just be prepared for the time and effort it takes to build and maintain such an oven.

7. Tools for Cutting and Serving Pita Bread
Once your delicious homemade pita bread is cooked and ready to serve, you will need the right tools to cut and serve it. A sharp bread knife is essential for neatly slicing the pita bread in half to create a pocket. Look for a knife with a serrated edge that glides effortlessly through the bread, ensuring a clean cut.
To serve the pita bread, consider investing in a bread basket or a large serving platter. These tools not only add a touch of elegance to your table but also keep the pita bread fresh and within easy reach for your guests. You can also use small dipping bowls for various condiments and fillings to accompany the pita bread.
8. Tools for Storing Pita Bread
Proper storage is crucial to keep your homemade pita bread fresh and delicious. Airtight containers or resealable bags are essential for storing leftover pita bread. These tools help to maintain freshness and prevent the pita bread from drying out. Consider dividing the bread into individual portions and storing them separately to make serving easier.
If you anticipate making pita bread frequently, you may want to consider investing in a bread box. A bread box keeps the bread fresh for longer by providing a controlled environment. Look for a box that has good ventilation and is large enough to hold a few pieces of pita bread.

9. Additional Tools for Enhancing Pita Bread Making
While the essential tools will get you started on your pita bread-making journey, there are a few additional tools that can enhance your experience. A dough proofer is a valuable tool for ensuring a successful rise of the dough. It provides a controlled warm environment that helps the yeast work its magic.
If you enjoy experimenting with flavors, consider investing in a spice grinder. Grinding fresh spices and herbs elevates the flavor profile of your pita bread. A mortar and pestle can also be used for this purpose if you prefer a more hands-on approach.
10. Conclusion
Choosing the right tools for making homemade pita bread is essential for success in your culinary endeavors. From mixing and kneading to cutting and serving, each tool plays a crucial role in the pita bread-making process. So, invest in quality tools that suit your needs and preferences, and enjoy the satisfaction of creating delicious homemade pita bread right in your own kitchen!


