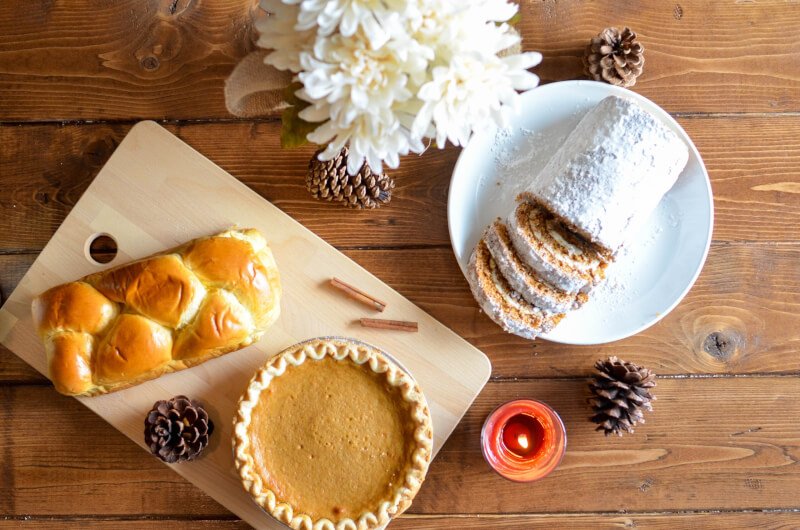
Today, we are going to reveal a game-changing secret to achieving the flakiest and most delicious pie crusts ever: mastering the art of using a pastry cutter. If you’ve always wondered how bakers create those picture-perfect crusts that melt in your mouth, look no further. In this article, you will learn step-by-step instructions on how to use a pastry cutter to create the pie crust of your dreams. Say goodbye to store-bought crusts and hello to homemade perfection. Get ready to impress your family and friends with your newfound pastry prowess. So, grab your apron and let’s get started on this tantalizing pastry adventure!
Preparation
Preparing a flaky and delicious pie crust starts with gathering the necessary ingredients. To make a basic pie crust, you will need all-purpose flour, cold unsalted butter (cut into small cubes), ice water, and a pinch of salt. Make sure all the ingredients are cold as this will help achieve a flaky texture.
After gathering the ingredients, it’s time to measure them properly. Use a kitchen scale or measuring cups to ensure accuracy. The ratio of fat to flour is crucial for achieving the perfect pie crust, so make sure to measure the ingredients carefully.
Once the ingredients are measured, it’s essential to chill them before moving forward with the recipe. Refrigerating the flour and butter will help keep the fat cold, which is crucial for achieving a flaky texture. Place the measured flour and cubed butter in the refrigerator for at least 30 minutes before using them.
Using the Pastry Cutter
Now that you have chilled ingredients, it’s time to start incorporating them into your pie crust. The first step is cutting the fat into the flour. A pastry cutter is an essential tool for this process.
Start by placing the chilled flour in a mixing bowl. Add the cubed butter into the bowl with the flour. Using the pastry cutter, gently cut the butter into the flour until the mixture resembles coarse crumbs. The goal is to incorporate the butter evenly into the flour without overmixing.
Next, it’s time to add water gradually to the mixture. Use ice-cold water and add it one tablespoon at a time, incorporating it into the flour-butter mixture with the pastry cutter. Stop adding water once the dough starts to come together. Be careful not to add too much water, as it can make the dough sticky and tough.
Continue using the pastry cutter to further incorporate the water into the dough. The objective is to achieve a dough that holds together when pressed but is not too wet. Avoid overworking the dough at this stage, as it can result in a tough crust.

Testing the Dough
Before moving on to forming the pie crust, it’s essential to check the consistency of the dough. You want a dough that is not too dry or too wet, as both can affect the final texture.
To check the consistency, gently press a small amount of dough between your fingers. It should hold together without crumbling excessively or feeling too sticky. If it crumbles, add a little more ice water, a tablespoon at a time, and incorporate it into the dough using the pastry cutter. If it feels too sticky, sprinkle a small amount of flour and gently incorporate it.
Another method to test the dough is the pinch and test method. Pinch a small amount of dough and roll it into a ball in your hands. Flatten the ball slightly and observe the edges. The dough should hold together without cracking and have a smooth appearance. If it cracks or falls apart, it needs a little more water or flour adjustment.
Forming the Pie Crust
Once the dough has reached the desired consistency, it’s time to form it into a pie crust. Begin by dividing the dough into two equal portions. This step is necessary if you’re making a double-crust pie or want to have a top crust for your pie.
Take one portion of the dough and shape it into a flat disc. This shape will make it easier to roll out the dough later on. Repeat the process with the second portion of the dough.
After shaping the dough into discs, it’s important to chill them again. Place each disc in a plastic wrap or resealable bag and refrigerate for at least 1 hour. Chilling the dough will allow the fats to firm up and prevent the crust from becoming too soft when baked.

Rolling the Dough
When the dough is properly chilled, it’s time to roll it out. Start by lightly flouring a clean surface, such as a countertop or a large cutting board. This prevents the dough from sticking and makes it easier to roll out.
Place one of the chilled dough discs on the floured surface and sprinkle a little flour on top. Using a rolling pin, begin rolling the dough from the center outwards, applying even pressure. Rotate the dough occasionally to ensure an even thickness.
Continue rolling the dough until it is large enough to cover your pie dish with some overhang. The thickness of the rolled dough depends on personal preference and the type of pie you are making. Keep in mind that a slightly thicker crust may hold up better for juicy fillings.
Transferring the Dough
After rolling out the dough, it’s time to transfer it into the pie dish. Start by folding the dough in half gently, without creasing it. This helps in handling the dough and prevents it from tearing.
Carefully lift the folded dough and place it in one half of the pie dish. Unfold the dough to cover the entire dish. Gently press the dough into the bottom edges and sides of the dish to ensure a snug fit.

Crimping the Edges
Crimping the edges of the pie crust not only adds a decorative touch but also helps seal the pie and prevent the filling from leaking during baking. To crimp the edges, start by folding the excess dough under itself, creating a thick edge.
Using your thumb and index finger, press the dough between them while using the thumb from your other hand to create a fluted edge. Repeat this process around the entire circumference of the crust, creating a decorative pattern.
Pre-baking the Crust
Pre-baking the crust, also known as blind baking, is necessary for certain types of pies or fillings that don’t require extensive baking time. Pre-baking helps to ensure a crisp and fully cooked crust.
To pre-bake the crust, start by docking the dough. Docking involves poking small holes or pricking with a fork on the bottom of the crust. This allows steam to escape while baking and prevents the dough from puffing up.
Next, line the pie crust with parchment paper or aluminum foil, then fill it with pie weights or dried beans to prevent the crust from puffing up during baking. Make sure the weights or beans cover the entire surface of the crust.
Place the pie crust in a preheated oven and bake for a specified time, as per your recipe or pie type. Once done, carefully remove the parchment paper or aluminum foil with the weights and allow the crust to cool before adding the filling.

Filling and Baking the Pie
After pre-baking the crust, it’s time to add the desired filling to complete your pie. Whether it’s a sweet fruit filling or a savory quiche, carefully pour it into the pre-baked pie crust, ensuring an even distribution.
Once the filling is added, follow the baking instructions specific to your pie recipe. Monitor the baking time and temperature to ensure the crust bakes evenly and the filling sets properly.
When the pie is fully baked, remove it from the oven and allow it to cool before serving. This cooling period helps the filling set further and ensures a delicious and cohesive pie.
Tips and Troubleshooting
To ensure a successful pie crust experience, here are some tips and troubleshooting advice:
- Keep all the ingredients, including flour, butter, and water, cold. This will help maintain the desired flakiness in the crust.
- Handle the dough gently throughout the process. Overworking the dough can lead to a tough crust.
- If the dough feels too sticky, sprinkle a small amount of flour and gently incorporate it. If it feels too dry, add a tablespoon of ice water at a time until the desired consistency is achieved.
- If you encounter any issues, such as the dough sticking to the rolling pin or surface, lightly dust the dough with flour.
- If the crust edges start browning too quickly during baking, cover them with aluminum foil to prevent over-browning while allowing the center to cook.
By following these tips and troubleshooting advice, you can create flaky and delicious pie crusts using a pastry cutter. Experiment with different fillings and get ready to impress your friends and family with homemade pies that are sure to be a hit!

