Making homemade bread is a rewarding and delicious experience that can bring warmth and satisfaction to your kitchen. From kneading the dough to watching it rise, the process of creating your own bread can be both soothing and exciting. In this article, we will explore the fundamental steps involved in making homemade bread, including mixing the ingredients, allowing the dough to proof, shaping it into a loaf, and finally, baking it to golden perfection. So grab your apron and let’s embark on a delightful journey of bread-making together!

Choosing the Right Ingredients
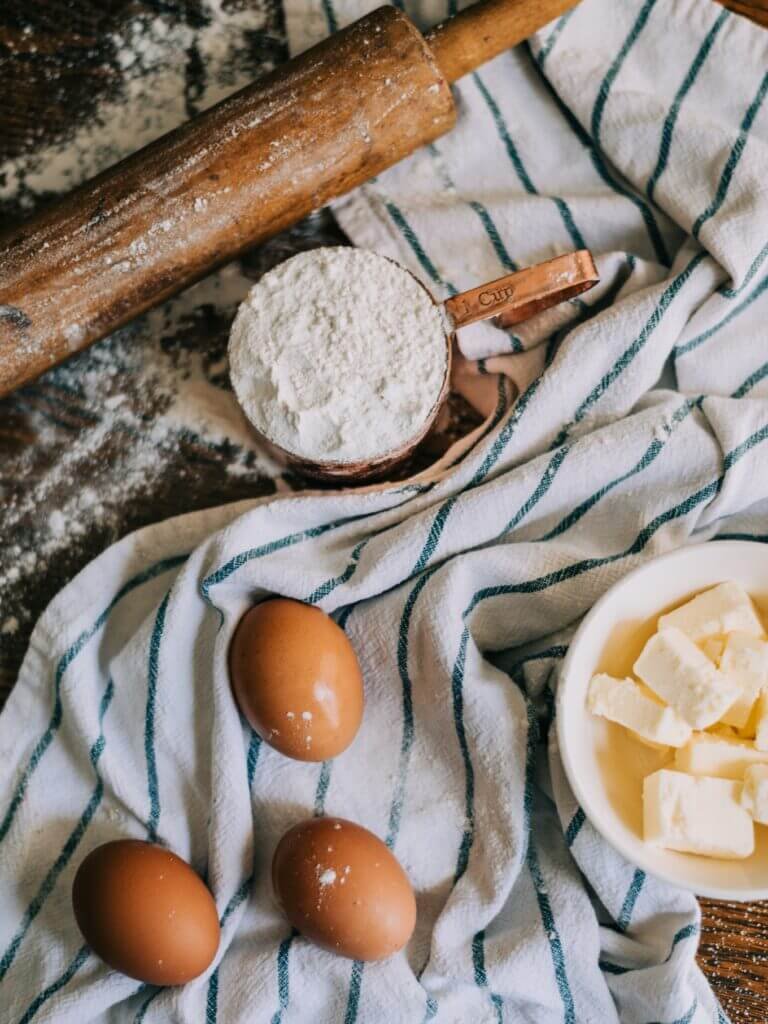
When it comes to making homemade bread, choosing the right ingredients is crucial. The quality and freshness of your ingredients can greatly impact the final result of your bread. Start by selecting high-quality flour. You can choose from various types of flour, such as all-purpose flour, bread flour, or whole wheat flour, depending on the type of bread you want to make. Additionally, make sure to use fresh yeast or active dry yeast for the best results. Other important ingredients include water, salt, and a sweetener like sugar or honey. Experimenting with different types of flour and additives, such as nuts, seeds, or dried fruits, can also add unique flavors and textures to your bread.
Preparing the Dough
Once you have gathered your ingredients, the next step is to prepare the dough. Start by combining the flour, yeast, salt, and any other dry ingredients in a large mixing bowl. Gradually add the water and sweetener, while stirring with a wooden spoon or a stand mixer with a dough hook attachment. Continue mixing until the ingredients come together to form a rough dough ball. If the dough appears too dry, add a little more water. Conversely, if the dough seems too sticky, add a bit more flour. The key is to achieve a slightly tacky and pliable dough that is easy to work with.
Kneading and Rising the Dough
After you have prepared the initial dough, it’s time to knead it. Kneading is a crucial step as it develops gluten, which gives the bread structure and texture. You can knead the dough by hand on a lightly floured surface or use a stand mixer with a dough hook attachment for convenience. To knead the dough by hand, use the heel of your hand to push the dough away from you, then fold it back over itself. Repeat this process for about 10 minutes until the dough becomes smooth and elastic. If you’re using a stand mixer, set it on low speed for about 5-7 minutes, or until the dough reaches the desired consistency.
Once the dough has been kneaded, it needs to rise. Place the dough in a clean, greased bowl and cover it with a damp cloth or plastic wrap. Allow the dough to rise in a warm, draft-free area for about 1 to 2 hours, or until it has doubled in size. The rising time may vary depending on the type of yeast used and the temperature of the environment. However, patience is key during this step as a well-risen dough will result in a lighter and more airy bread.
Shaping the Dough
Once the dough has risen, it’s time to shape it into the desired form. The shaping process not only gives your bread an appealing appearance but also ensures an even distribution of air bubbles in the final loaf. Begin by gently deflating the dough by pressing it with the palms of your hands. Then, turn it out onto a lightly floured surface and shape it into a tight ball or a loaf shape.
To shape a ball, fold the edges of the dough towards the center, rotating it as you go, until you have a smooth and round ball. To shape a loaf, roll the dough into a rectangle and then tightly roll it up, starting from one end. Pinch the seam to seal it, and place the shaped dough on a greased or parchment-lined baking sheet or in a greased loaf pan.

Final Proofing
After shaping the dough, it needs to go through its final proofing stage. This step allows the dough to rise once again and develop additional flavors. Place the shaped dough back into a clean, greased bowl or cover it with a damp cloth or plastic wrap. Let it rise for another 30 minutes to 1 hour, or until it has increased in size by about 50%. It’s important not to overproof the dough, as it can result in a dense and deflated loaf. Keep a close eye on the dough during this step to ensure it rises to the right level.
Baking the Bread
Now comes the exciting part – baking the bread! Preheat your oven to the appropriate temperature as specified in your recipe. If you’re making a round loaf, you can also consider placing a baking stone or overturned baking sheet in the oven to preheat. This helps create a crispy crust.
Before placing the dough in the oven, you may want to enhance the appearance and texture of your bread by scoring the surface. Using a sharp knife or a bread lame, make shallow cuts on the surface of the dough in a pattern of your choice. This allows the steam to escape during baking, preventing the bread from cracking in undesirable places.
Carefully transfer the dough onto the preheated baking stone, baking sheet, or into a loaf pan. If desired, you can also brush the surface with an egg wash or sprinkle it with additional toppings like seeds or oats. Bake the bread for the recommended time, ensuring it reaches an internal temperature of at least 190°F (88°C). The baking time may vary depending on your oven and the size of the loaf, so keep a close eye on it to avoid over or under-baking.
Cooling and Storing
Once the bread is baked to perfection, it’s time to let it cool. Transfer the baked loaf to a wire rack and allow it to cool for at least 1 hour. Cooling the bread ensures that the interior finishes cooking and the crust becomes crisp.
After the bread has completely cooled, you can store it in an airtight container or a bread bag to maintain its freshness. Homemade bread is best enjoyed within the first two to three days. If there’s any remaining bread after that time frame, you can freeze it to extend its shelf life. Sliced bread freezes well and can be easily thawed and toasted as needed.
Experimenting with Variations
Once you have mastered the basic steps of making homemade bread, don’t be afraid to experiment with different variations. You can add various ingredients like herbs, spices, cheese, or even fruits to create new flavors and textures. Additionally, you can try different shaping techniques, such as braiding or making rolls, to create visually interesting loaves. The possibilities are endless, and by experimenting, you’ll discover your own unique combinations and styles.
Troubleshooting Common Issues
Making bread can sometimes be challenging, especially for beginners. However, with a little troubleshooting, you’ll be able to overcome common issues and bake delicious loaves consistently. If your bread is consistently turning out dense, you might need to adjust the amount of yeast or knead the dough for longer to develop more gluten. If your bread is not rising well, check the expiration date of your yeast and ensure your dough is proofed in a warm environment. By experiencing and learning from these issues, you’ll become more confident in your bread baking skills.
Conclusion
Making homemade bread is a fulfilling and rewarding experience. By following these key steps, you can create delicious loaves from scratch. Remember to choose the right ingredients, prepare and knead the dough with care, shape it properly, and allow it to rise before baking. Lastly, experiment with different variations to add your own personal touch to each loaf. With practice and patience, you’ll soon become a master bread baker, delighting friends and family with your homemade creations. So, don’t wait any longer – grab your apron, gather your ingredients, and let the bread baking journey begin!


